The vibrant colors, the intricate designs, and the sweet sugary scent – decorating sugar skulls is an integral part of Día de los Muertos, or Day of the Dead, celebrations in Mexico. More than just a craft project, it’s a deeply meaningful tradition that honors deceased loved ones, welcoming their spirits back for a brief reunion with the living. These colorful skulls, known as “calaveras de azúcar,” are not meant to be morbid; rather, they are a joyful reminder of life and a playful nod to the inevitable.
Whether you’re a seasoned artist or a first-time decorator, creating your own sugar skulls can be a rewarding and enriching experience. This article will guide you through the process, from preparing the basic skull to adding your own personal touches, ensuring your calavera becomes a beautiful tribute to someone special.
Preparing Your Sugar Skull
Before you unleash your inner artist, you’ll need a sugar skull base. You can purchase pre-made sugar skulls from Mexican markets or online retailers, especially leading up to Day of the Dead. Alternatively, you can make your own! Here’s what you’ll typically need:
- Sugar Skull Mold: Available in various sizes and designs.
- Granulated Sugar: The finer the sugar, the smoother your skull will be.
- Meringue Powder: This acts as a binder and helps the skull hold its shape.
- Water: To moisten the sugar mixture.
- Cardboard or Sturdy Surface: To unmold and dry your skulls.
Making Your Own Sugar Skulls (Brief Overview)
While a full tutorial on making sugar skulls from scratch is beyond the scope of this article, here’s a quick summary:
- Mix: Combine sugar and meringue powder. Gradually add water until the mixture resembles damp sand.
- Pack: Firmly pack the mixture into the mold.
- Unmold: Invert the mold onto your prepared surface and gently tap to release the skull.
- Dry: Allow the skulls to dry completely (usually overnight or longer) before decorating.
Important Note: Homemade sugar skulls are fragile! Handle them with care.
Gathering Your Decorating Supplies
Now comes the fun part! Here’s a list of essential decorating supplies:
- Royal Icing: This is your “glue” and base for decorations. You can buy pre-made royal icing or make your own using meringue powder, powdered sugar, and water. Divide the icing into separate bowls and tint with gel food coloring.
- Gel Food Coloring: Gel colors provide vibrant hues without thinning the icing too much.
- Piping Bags and Tips: For creating intricate designs with your royal icing.
- Edible Decorations: Think colorful sprinkles, edible glitter, small candies, dragees, and even small pieces of fondant.
- Toothpicks or Skewers: For precise placement of decorations and cleaning up any smudges.
- Small Bowls or Palettes: To hold your different colors of icing and decorations.
Let the Decorating Begin!
With your sugar skull base and decorating supplies ready, it’s time to unleash your creativity! Here are some tips and ideas to get you started:
Planning Your Design
Before you start piping, it’s helpful to sketch out your design on paper or even lightly trace it onto the sugar skull with a food-safe marker. Consider the person you’re honoring. What were their favorite colors, flowers, or hobbies? Incorporate these elements into your design to make it truly personal.
Basic Decorating Techniques
- Outlining: Use a small round tip to outline the eyes, nose, mouth, and any other key features of your design.
- Flooding: Thin your royal icing slightly and use it to fill in the outlined areas. This creates a smooth, even base for further decorations.
- Piping Details: Experiment with different piping tips to create dots, swirls, lines, and other intricate patterns.
- Adding Decorations: While the icing is still wet, gently press your sprinkles, candies, and other decorations into place.
Popular Design Elements
- Flowers: Marigolds (cempasúchil) are the traditional flower of Day of the Dead, but you can use any flower that holds special meaning.
- Hearts: Representing love and remembrance.
- Scrolls: Often used to write the name of the deceased.
- Stars: Symbolizing guidance and hope.
- Geometric Patterns: Add a touch of modern flair to your designs.
Personalizing Your Sugar Skull
The most important aspect of decorating sugar skulls is to make them personal. Don’t be afraid to experiment with different colors, patterns, and decorations. Consider adding the name of the deceased to the forehead of the skull. You can also include elements that represent their hobbies, interests, or personality. The more personal the skull, the more meaningful it will be as a tribute.
Conclusion
Decorating sugar skulls for Day of the Dead is more than just a fun activity; it’s a heartfelt tradition that connects us to our ancestors and celebrates the cycle of life and death. By taking the time to create these beautiful and personalized tributes, we honor the memories of our loved ones and keep their spirits alive. So, gather your supplies, unleash your creativity, and embrace the joy of decorating sugar skulls!
If you enjoyed this article, don’t forget to explore more inspiring stories on Life in Mexico!
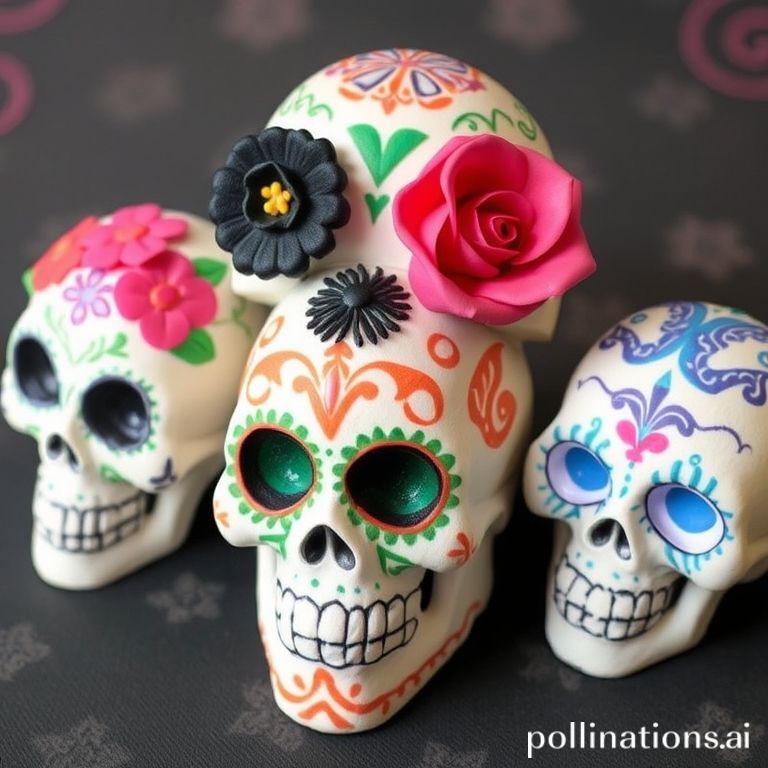
IMAGE: A brightly lit, close-up studio shot of several decorated sugar skulls on a dark wooden table. The skulls are adorned with vibrant royal icing in various colors (red, yellow, blue, purple, green), intricate floral patterns, glitter, and small candies. The mood is festive and cheerful. The style is detailed and colorful, emphasizing the artistry of the sugar skull decoration.