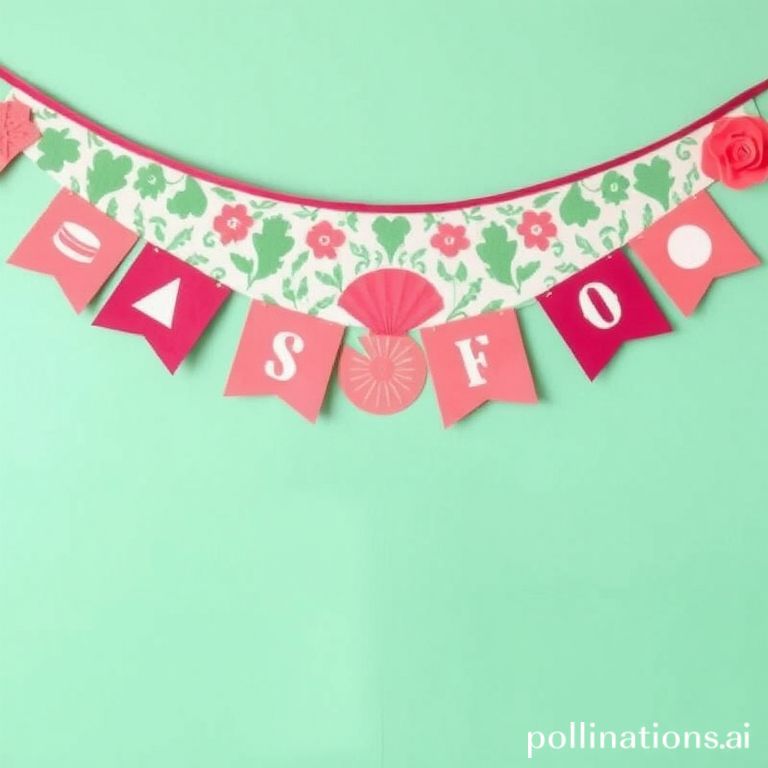
Papel picado, meaning “perforated paper,” is a traditional Mexican folk art where intricate designs are cut into colorful tissue paper. These delicate banners are commonly displayed during celebrations like Día de Muertos, weddings, and quinceañeras, adding a vibrant and festive touch to any occasion. While you can certainly purchase papel picado, creating your own allows for personalization and a deeper connection to this beautiful tradition. This guide will walk you through a simple DIY method for making your own papel picado banner, perfect for adding a touch of Mexican flair to your home or next fiesta.
Making papel picado is a fun and accessible craft, even for beginners. With a few readily available materials and a little patience, you can create stunning decorations that showcase your creativity. The process is not only rewarding but also offers a glimpse into the rich cultural heritage of Mexico. Let’s get started on crafting your very own DIY papel picado banner!
Gather Your Supplies
Before you begin, gather all the necessary materials to ensure a smooth and enjoyable crafting experience. Here’s what you’ll need:
- Tissue Paper: Choose a variety of vibrant colors to create an authentic and eye-catching banner. Mexican papel picado often features bright pinks, oranges, yellows, blues, and greens.
- Scissors or Craft Knife: Sharp scissors are suitable for simpler designs, while a craft knife (like an X-Acto knife) provides more precision for intricate details. Remember to use a cutting mat if using a craft knife.
- Cutting Mat (if using a craft knife): Protect your work surface with a self-healing cutting mat.
- Pencil: For sketching your design onto the tissue paper.
- Ruler: To ensure accurate measurements and straight lines.
- String or Twine: To string your finished papel picado pieces together.
- Glue or Tape: To attach the papel picado pieces to the string.
- Templates (Optional): If you’re new to papel picado, you can find printable templates online to guide your designs.
Designing Your Papel Picado
The beauty of papel picado lies in its intricate designs. Consider the occasion for which you’re creating the banner and incorporate relevant symbols or motifs. Here are some ideas to inspire you:
- Flowers: A classic and versatile design element, representing beauty and celebration.
- Birds: Symbolizing freedom and joy.
- Skulls (Calacas): Traditional for Día de Muertos, representing remembrance and honoring loved ones.
- Stars: Adding a touch of sparkle and magic.
- Geometric Shapes: Creating modern and abstract designs.
You can either draw your design directly onto the tissue paper or use a template. If drawing freehand, keep the design symmetrical, as you’ll be cutting through multiple layers of paper at once. Start with simple shapes and gradually add more detail as you gain confidence.
Cutting the Papel Picado
This is where the magic happens! Follow these steps to cut your papel picado:
- Stack the Tissue Paper: Layer several sheets of tissue paper together (4-8 sheets is a good starting point). The more layers you have, the more challenging it will be to cut, but the more pieces you’ll create at once.
- Secure the Layers: Use paper clips or binder clips to hold the layers of tissue paper together, preventing them from shifting during cutting.
- Transfer the Design: If using a template, place it on top of the stack of tissue paper and trace the design with a pencil.
- Start Cutting: Carefully begin cutting along the lines of your design. For intricate details, a craft knife is recommended. Remember to use a cutting mat to protect your work surface. For larger shapes, scissors will work well.
- Be Patient: Take your time and focus on accuracy. The more precise your cuts, the more refined your finished papel picado will look.
- Remove the Clippings: As you cut, gently remove the small pieces of tissue paper (the “picado”) to reveal the design.
- Unfold and Admire: Once you’ve finished cutting, carefully unfold the layers of tissue paper and admire your handiwork!
Assembling Your Banner
Now that you have your individual papel picado pieces, it’s time to assemble them into a banner:
- Arrange the Pieces: Lay out your papel picado pieces in the order you want them to appear on the banner. Consider alternating colors and designs for visual interest.
- Attach to String: Using glue or tape, attach each papel picado piece to the string or twine. Leave some space between each piece (about 4-6 inches) to allow them to hang freely. You can fold the top edge of the papel picado over the string and glue or tape it in place for a secure hold.
- Hang and Enjoy: Once all the pieces are attached, your DIY papel picado banner is complete! Hang it up and enjoy the festive atmosphere it creates.
Conclusion
Creating your own papel picado banner is a delightful way to connect with Mexican culture and add a personal touch to your celebrations. This simple DIY project is not only fun and rewarding but also allows you to express your creativity and create unique decorations that reflect your style. So gather your supplies, unleash your imagination, and get ready to transform ordinary tissue paper into a vibrant and captivating work of art!
If you enjoyed this article, don’t forget to explore more inspiring stories on Life in Mexico!
IMAGE: A close-up shot showcasing hands carefully cutting colorful tissue paper with scissors, creating intricate designs. The background is a brightly lit workspace with various colors of tissue paper, a cutting mat, and crafting tools scattered around. The mood is creative and festive. The style is bright and vibrant, highlighting the textures and colors of the materials.


